Cart
0
Summary
Leather jacket tears can be repaired at home with cleaning, patching, and adhesive. A step-by-step repair process restores durability and appearance. Conditioning and coloring ensure a seamless, long-lasting finish.
Leather jackets are a symbol of fashion and timeless sophistication, but over time, tears and damage can occur. If the tear is minor, you can easily fix it at home using basic tools and techniques. This blog post will be your guide to the process of repairing a tear and bringing back its original beauty. With careful work, you can restore your outfit without professional help.
Disclaimer:
Fixing a leather jacket tear at home can be a rewarding process, but not all repairs are straightforward. If the damage is extensive or the jacket holds sentimental value, it is advisable to seek professional assistance. A specialist can handle complex issues, ensuring the item remains intact without further harm. If you're uncertain about your skills, it's always wise to consult a repair expert to preserve your valuable jacket.
Materials Needed:
Here are the materials needed to repair scratches and tears on a leather jacket:
-
Leather repair kit
-
Leather glue
-
Leather patch or polyester-cotton fabric
-
A pair of shears
-
Razor blade or Stitch remover
-
Leather putty
-
Fine sandpaper
-
Soft rag
-
A thimble
-
Sewing thread
-
Saddle soap and leather cream

Assessing the Damage:
-
Step 1: Assess the Tear:
Carefully inspect your leather jacket to determine the size, severity, and condition of the tear. Look for worn edges, shredded areas, and note the color so you can match repair materials. Cleaning and drying the tear before repair will prevent future issues. Based on the assessment, decide whether stitching, adhesive, leather filler, or a patch is the best method for a seamless and durable repair.

Cleaning and Preparing the Leather Surface:
-
Step 2: Clean the Area:
Begin by gently wiping the area around the tear with a soft cloth. This helps remove any dirt or debris from the surrounding space. A clean and well-maintained leather surface ensures a proper repair process and makes the work easier.
-
Step 3: Remove Excess Threads:
To fix a tear in your leather jacket, carefully remove any loose threads with a pair of scissors. Be cautious not to cut into the surrounding leather. If a loose thread comes loose, use sharp scissors to cut it off without damaging the other parts of the jacket.

Opening and Patching the Tear:
-
Step 4: Open The Jacket Up:
To fix a leather jacket tear, carefully open the lining with a seam ripper or small scissors to access the tear. This creates an escape route and gives you access to the torn area. Unpick the arm section carefully to get into the tear faster and more effectively, allowing you to carry out a careful, seamless repair with minimal disruption to the jacket’s structure.
-
Step 5: Cutting Your Leather Patch:
Start by trimming a patch from thin, gloving leather or polycotton. The backing fabric should have enough excess but not too much to avoid bunching. Corners need to be rounded off to prevent complications when inserting. If using leather, place the suede side up for a smooth fit. Carefully insert the patch and ensure any spare fabric is removed to avoid future problems.
-
Step 6: Prepare The Patching Fabric:
To fix a tear on your leather jacket, cut a patch that extends slightly beyond the tear on all sides, giving enough space for secure adhesion without excess bulk. This gives you extra space to apply glue to the edges, ensuring the patch will stick properly for a secure repair. Using a slightly larger patch ensures secure adhesion.

Applying Leather Adhesive and Repair Materials:
-
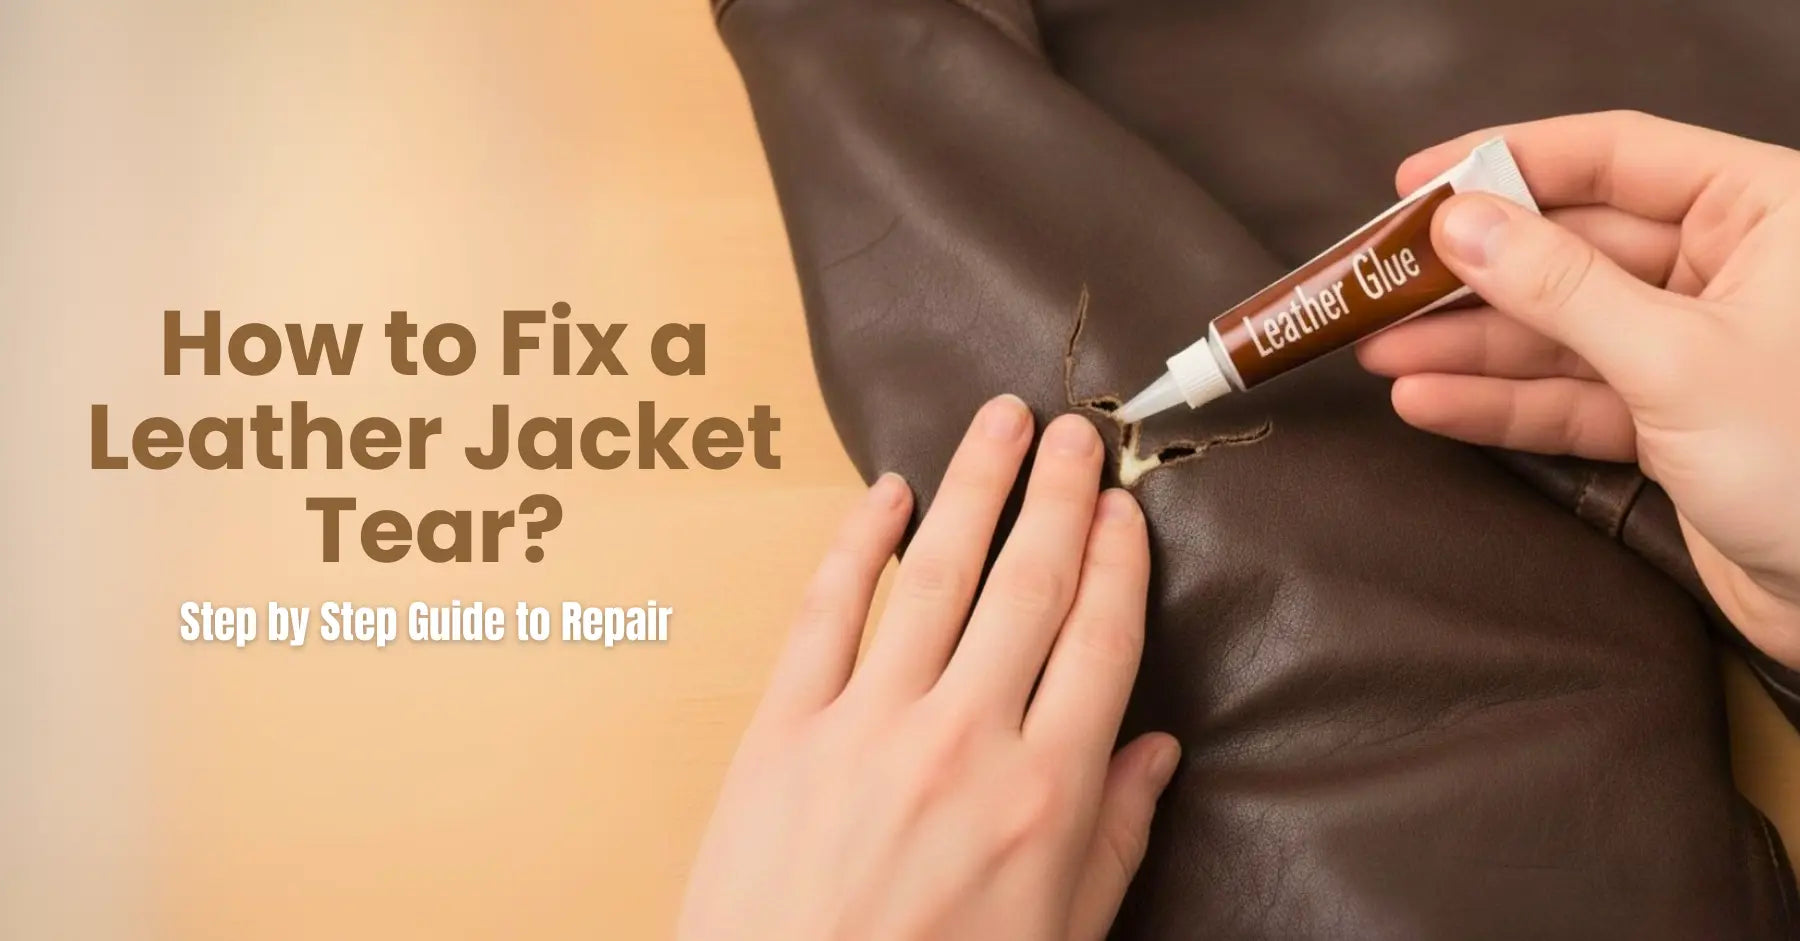
Step 7: Apply Leather Adhesive:
To fix a leather jacket tear, use leather adhesive with a small applicator. Apply a thin layer of leather glue on the ripped edges. Follow the application technique carefully, ensuring the glue coats the edges evenly. Press the rear side of the leather and allow it to dry, respecting the drying time. Always follow the producer’s advice and instructions in the leather repair kit. A narrow coat ensures better adhesion for patching and repair.
Note: Additional Tips:
Use a brush for precise glue application and maintain proper leather care for long-lasting results.
-
Step 8: Press the Tear Together:
To fix a tear in your leather jacket, gently press the edges of the tear together. Use toothpicks to hold the torn sides in place. Let the adhesive bond the leather by holding it for a few minutes. This will seal the tear and firmly fix it, ensuring the sides stay closed and aligned.
-
Step 9: Put The Fabric In Place:
To fix damage in leather, the success of this repair depends on carefully positioning the patch beneath the tear, ensuring smooth alignment and a seamless finish. Start by turning the item over and applying a small amount of glue to cover the tear. If the item is small or light, you can slide the leather patch underneath with tweezers. Focus on one side first, then attempt to adjust the other side. Once you’re confident that the material fills the hole, smooth it out to complete the repair.

Finishing and Conditioning:
-
Step 10: Fill and Sand:
Start by applying leather filler into the tear gap or hole using a spatula. For precision, use a fine applicator to guide the filler smoothly into the tear, achieving a refined, professional result.. Follow the product directions for the correct drying time. Once the leather filler is dry, gently sand the patched areas with fine sandpaper or fine-grit sandpaper to remove any lumps and ensure a smooth surface. This helps blend the leather surface with the surrounding areas and achieve a smooth finish that also prevents wrinkles or creases.
-
Step 11: Condition the Jacket:
To mend a leather jacket, start by applying a leather conditioner to restore softness and flexibility helps maintain the moisture content and makes the leather more pliable for patching. It also ensures an even color and uniform appearance, allowing the jacket to regain its natural look and flexibility.
-
Step 12: Colouring and Finishing The Leather:
After the filler seals the tear, proper colouring makes the hole nearly unobtrusive. If your leather dye matches perfectly, apply it directly. Otherwise, mix shades from a close base color, adjusting with white or black to obtain the perfect match. This thoughtful approach ensures the repair blends naturally, restoring the jacket’s elegance without visible signs of damage.

FAQs:
Can a tear in a leather jacket be repaired?
Tears in leather jackets can be repaired, from small gaps to larger holes. The secret? A good leather, apply it carefully with a spatula or even a toothpick for precision. Always follow the product’s instructions, let it dry completely, then gently smooth the filled area with fine-grit sandpaper. Finally, match the color using leather paint, carefully blending it into the surrounding leather for a seamless finish.
Is torn leather repairable?
Yes. Small tears, cracks, and scratches can be restored with the right adhesive or filler, preserving both the look and longevity of your jacket. Use leather adhesive for minor splits or filler for deeper damage. While these methods are tailored for genuine leather, some techniques may also assist with vinyl repair though results will differ.
What is the best glue to repair a leather jacket?
For a strong bond on porous leather or fur, use contact adhesive, apply to both surfaces, wait, then press. For quick fixes on non-porous areas, cyanoacrylate (super glue) works but may stiffen the leather. Choose based on flexibility vs. speed of bonding and how fast it needs to dry.
Can a tailor fix ripped leather?
Yes! A tailor can repair leather jackets, coats, or even a leather skirt with rips or tears using leather panels. They also handle alterations like shortening sleeves, adjusting the hem, or replacing zips.
How do you fix leather separating?
Repairing Peeling Leather
First, gently remove loose peeling material from the area using fine sandpaper, a sharp blade, or your fingers - but avoid removing more than necessary. Completely wipe the surface clean, then apply a thin layer of leather filler with a putty knife for an invisible repair. Press firmly and let it dry.
How To Repair A Tear In a Leather Jacket?
Fixing a tear in your favorite leather jacket doesn’t have to be time-consuming if you know the right procedure. If your coat has no lining, you’re in luck because you can easily access both sides of the leather, making applying a patch much simpler. However, if there’s a lining, don’t worry, just follow the instructions for carefully sliding a supportive patch underneath the tear. This method has been used successfully to repair many leather jackets. The key is patience and precision.
Is Leather Glue Worth It?
For repairing leather tears, leather glue is a smart investment, providing a strong and durable fix for leather jackets.