Cart
0
Summary
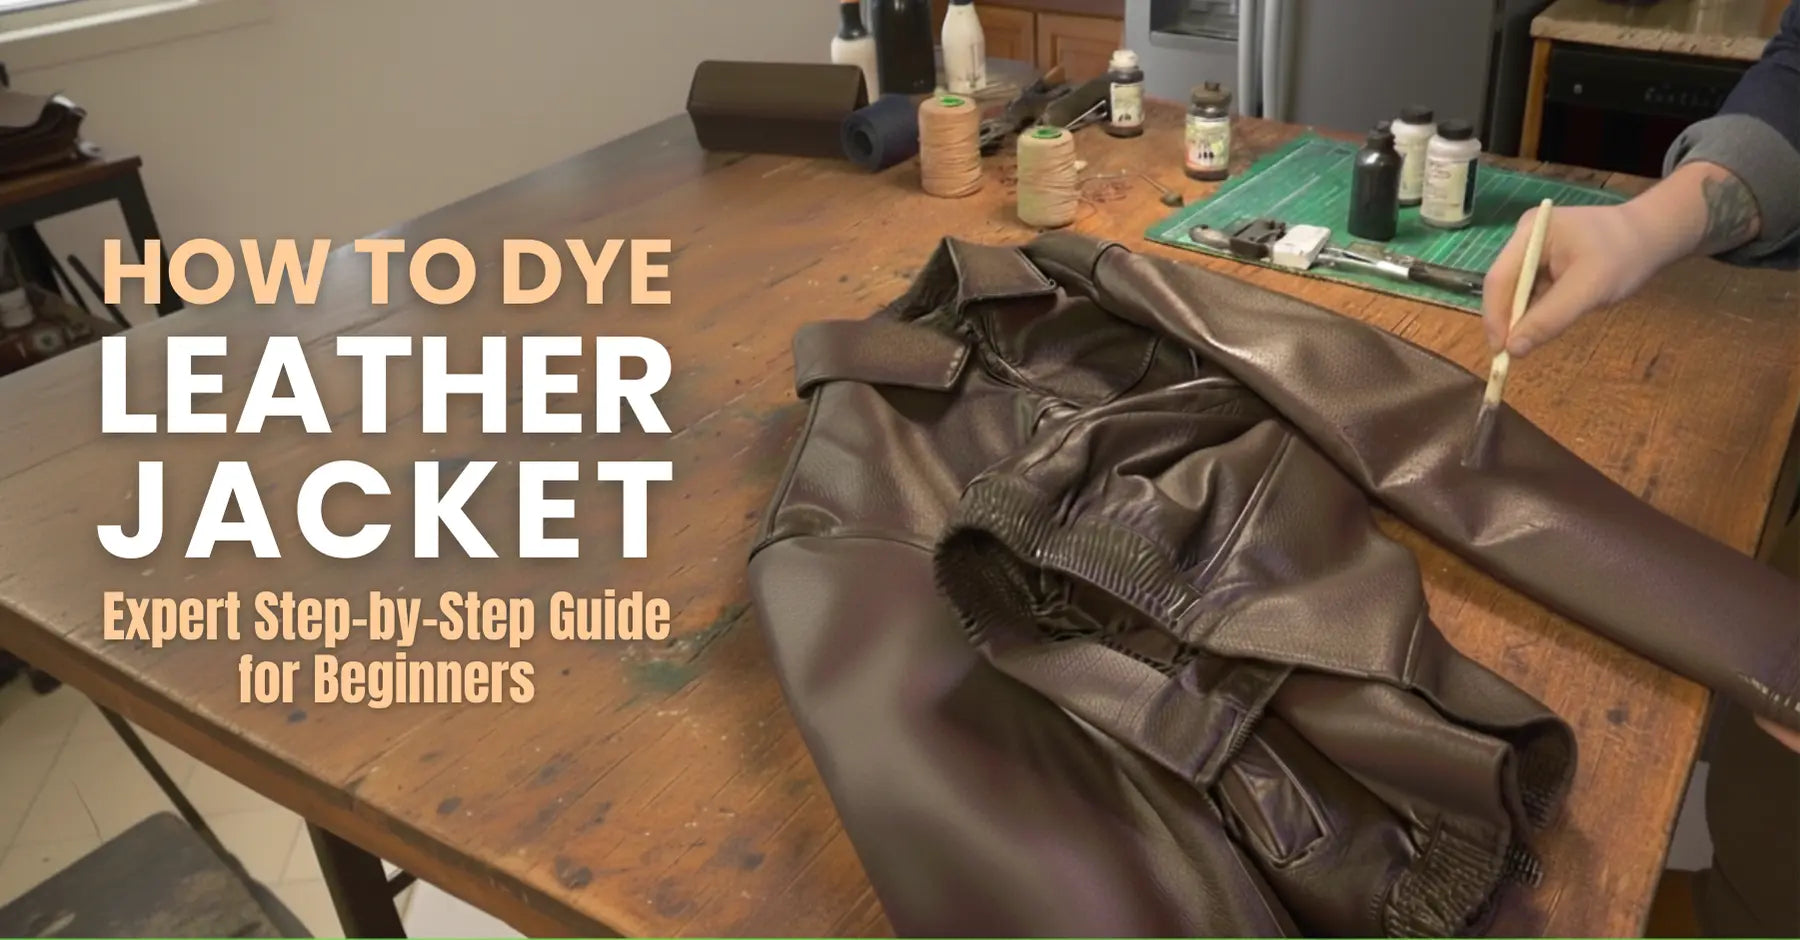
To dye a leather jacket, first clean and repair the surface, then apply thin, even coats of a suitable leather dye oil, water, or alcohol-based depending on your jacket type. Finish by conditioning and sealing the leather to ensure rich color, durability, and long-lasting style.
Dyeing a leather jacket revives its color and texture, helping it last longer even after fading or scuffs. Even when the surface gets scuffed, patchy, or fades. This material ages naturally, but its natural softness, strength, and appeal only improve with softening care. Whether you wear it often or only occasionally, your jacket will look better and last longer when refreshed with dye.
Can You Dye a Leather Jacket at Home?
Dyeing a leather jacket at home is possible, and with the right materials, you can achieve professional-like results. However, it's crucial to understand the process before you begin. Different types of dye and materials absorb color differently, which affects the finish.
When properly prepared, you can restore the original color or even completely customize the shade to give it a fresh and personalized look. I've tried it myself and found that attention to detail is key to achieving a durable, stylish jacket that lasts for years. Ensure you follow the correct steps to extend the lifespan of your coat and maintain its care through regular maintenance.
What You Need to Know About Dyeing Leather Jackets:
Dyeing your leather jacket can breathe new life into a treasured item you wear with pride. Here’s what you’ll need: gloves, sponges, and tools that keep both you and your jacket safe during the process.

|
Rubber gloves |
High-density sponge |
Brush |
|
Paper towels |
Abrasive pads |
800-grit sandpaper |
|
Clean cloths |
Newspaper |
Heat gun |
|
Polythene sheet |
Spray bottle |
Hairdryer |
Prepare the area, then start work by lightly sanding with 800-grit sand. Apply the dye using a brush or spray bottle. Blot with paper towels and dry with a hairdryer or heat gun to save time.
Understanding Leather:

Full-grain leather:
Known for its natural grain and durable qualities, it retains the hide's integrity, providing a high-quality option for dyeing. The dyeing process is more challenging as it absorbs the dye slowly, but results in a rich and long-lasting finish.
Top-grain leather:
Slightly less durable than full-grain, but with a smoother, sanded surface that absorbs dye easily. It’s a popular choice for dyeing as it gives a polished look with less effort.
Suede/Nubuck leather:
With a soft, napped finish, these leathers require special dyes and techniques due to their open fiber structure. Dyeing them requires careful handling to achieve a consistent result without damaging the texture.
Choosing the Right Dye:
Picking the perfect dye for your leather jacket is the most important step in your dyeing project. The type of dye you choose will determine everything from the final color to how long your results last. After working with countless leather pieces, I've learned that each dye type has its superpowers - you just need to match them to your specific needs.

• Aniline Dyes:
The premium choice for high-quality leather that lets the jacket's natural character shine through. These dyes soak deep into the leather while preserving every beautiful imperfection of the natural grain. An ideal choice for achieving an authentic, broken-in look
• Alcohol-Based Dyes:
Alcohol-based dyes dry fast and give deep shades but require quick, careful use.. They penetrate deeply and set quickly and dry in minutes, but here's the catch - you've got to work quickly and carefully. One wrong move and you'll get uneven results. Pro tip: Work in small sections!
• Oil-Based Dyes:
When I want a color that lasts for years, I reach for this. The rich pigments create an incredibly durable finish that matches daily wear. Yes, they take longer to dry (sometimes a full day), but that patience pays off in longevity.
• Water-Based Dyes:
Modern eco-friendly dyes have come a long way in recent years. Modern formulas deliver surprisingly vibrant colors with excellent coverage. They're more forgiving for beginners, too - if you mess up, you've got a longer window to fix it before it sets.
The Golden Rule of Leather Dyeing:
Always, and I mean always, consider your specific leather type and intended color before choosing. That vintage bomber jacket needs a completely different approach than a modern moto jacket. Always perform a test patch first to ensure the dye reacts properly.
Prepping Your Leather Jacket:
Cleaning The Jacket:
Before applying a new dye, ensure your leather jacket is free of dirt, especially if heavily soiled, to avoid a patchy finish or premature flaking away. Check the care label for the appropriate method; use a prep fluid for deep cleaning or a simple wipe for light dust. Skipping this step can ruin the finish, even if you prefer a lived-in look. Always start with a clean leather jacket for the best results.
Repairing the Leather:
Before dyeing, inspect your jacket thoroughly for any damage. Here’s how to fix common issues:

Minor cracks & scratches
Fill with leather filler or repair paste in thin layers, then dry with a hairdryer (or heat gun on low setting).
Small holes & rips
Patch with a leather patch and contact cement, following instructions closely.
Large rips
Best handled by a specialist repair shop, though it’s pricey, it ensures durability.
Scuffed patches & imperfections
Sand lightly with 800-grit sandpaper for a smooth surface, then apply leather prep fluid before dyeing.
Nubuck/suede leather
Skip heavy sanding and use a spatula to apply thin coats of leather repair filler paste.
A bright, clean jacket starts with proper repair; skip this, and even dye application won’t hide flaws.
PRO TIP:
Protect hardware with tape before dyeing, then use a leather-specific conditioner; avoid oils like olive oil, which can cause long-term damage. Rub in circular motions to help the dye absorb evenly.
-
Pick Your Working Area Carefully
Choose a well-ventilated space to avoid fumes and cover your table or flat surface with newspapers or a protective sheet to prevent drips, spills, and damage to the carpet or laminate floor. Use a water-based dye for easier cleanup. Protect your workspace carefully to avoid stains or damage.
-
Wear Gloves!
When working with leather dyes, always wear gloves to protect your skin from potential chemical burns or stains. Even if the dye is labeled non-toxic, some ingredients can still react with your skin, irritating it. I learned this the hard way when a small splash left a stubborn mark. Gloves are a must!
How to Dye Leather: Step-by-Step:
Dyeing leather starts with surface prep: clean your jacket, then test a small, hidden area like under the flap, hem, or inside the pocket using a cotton swab. This helps you gauge the true color and see if the dye adheres properly before moving to visible parts.
-
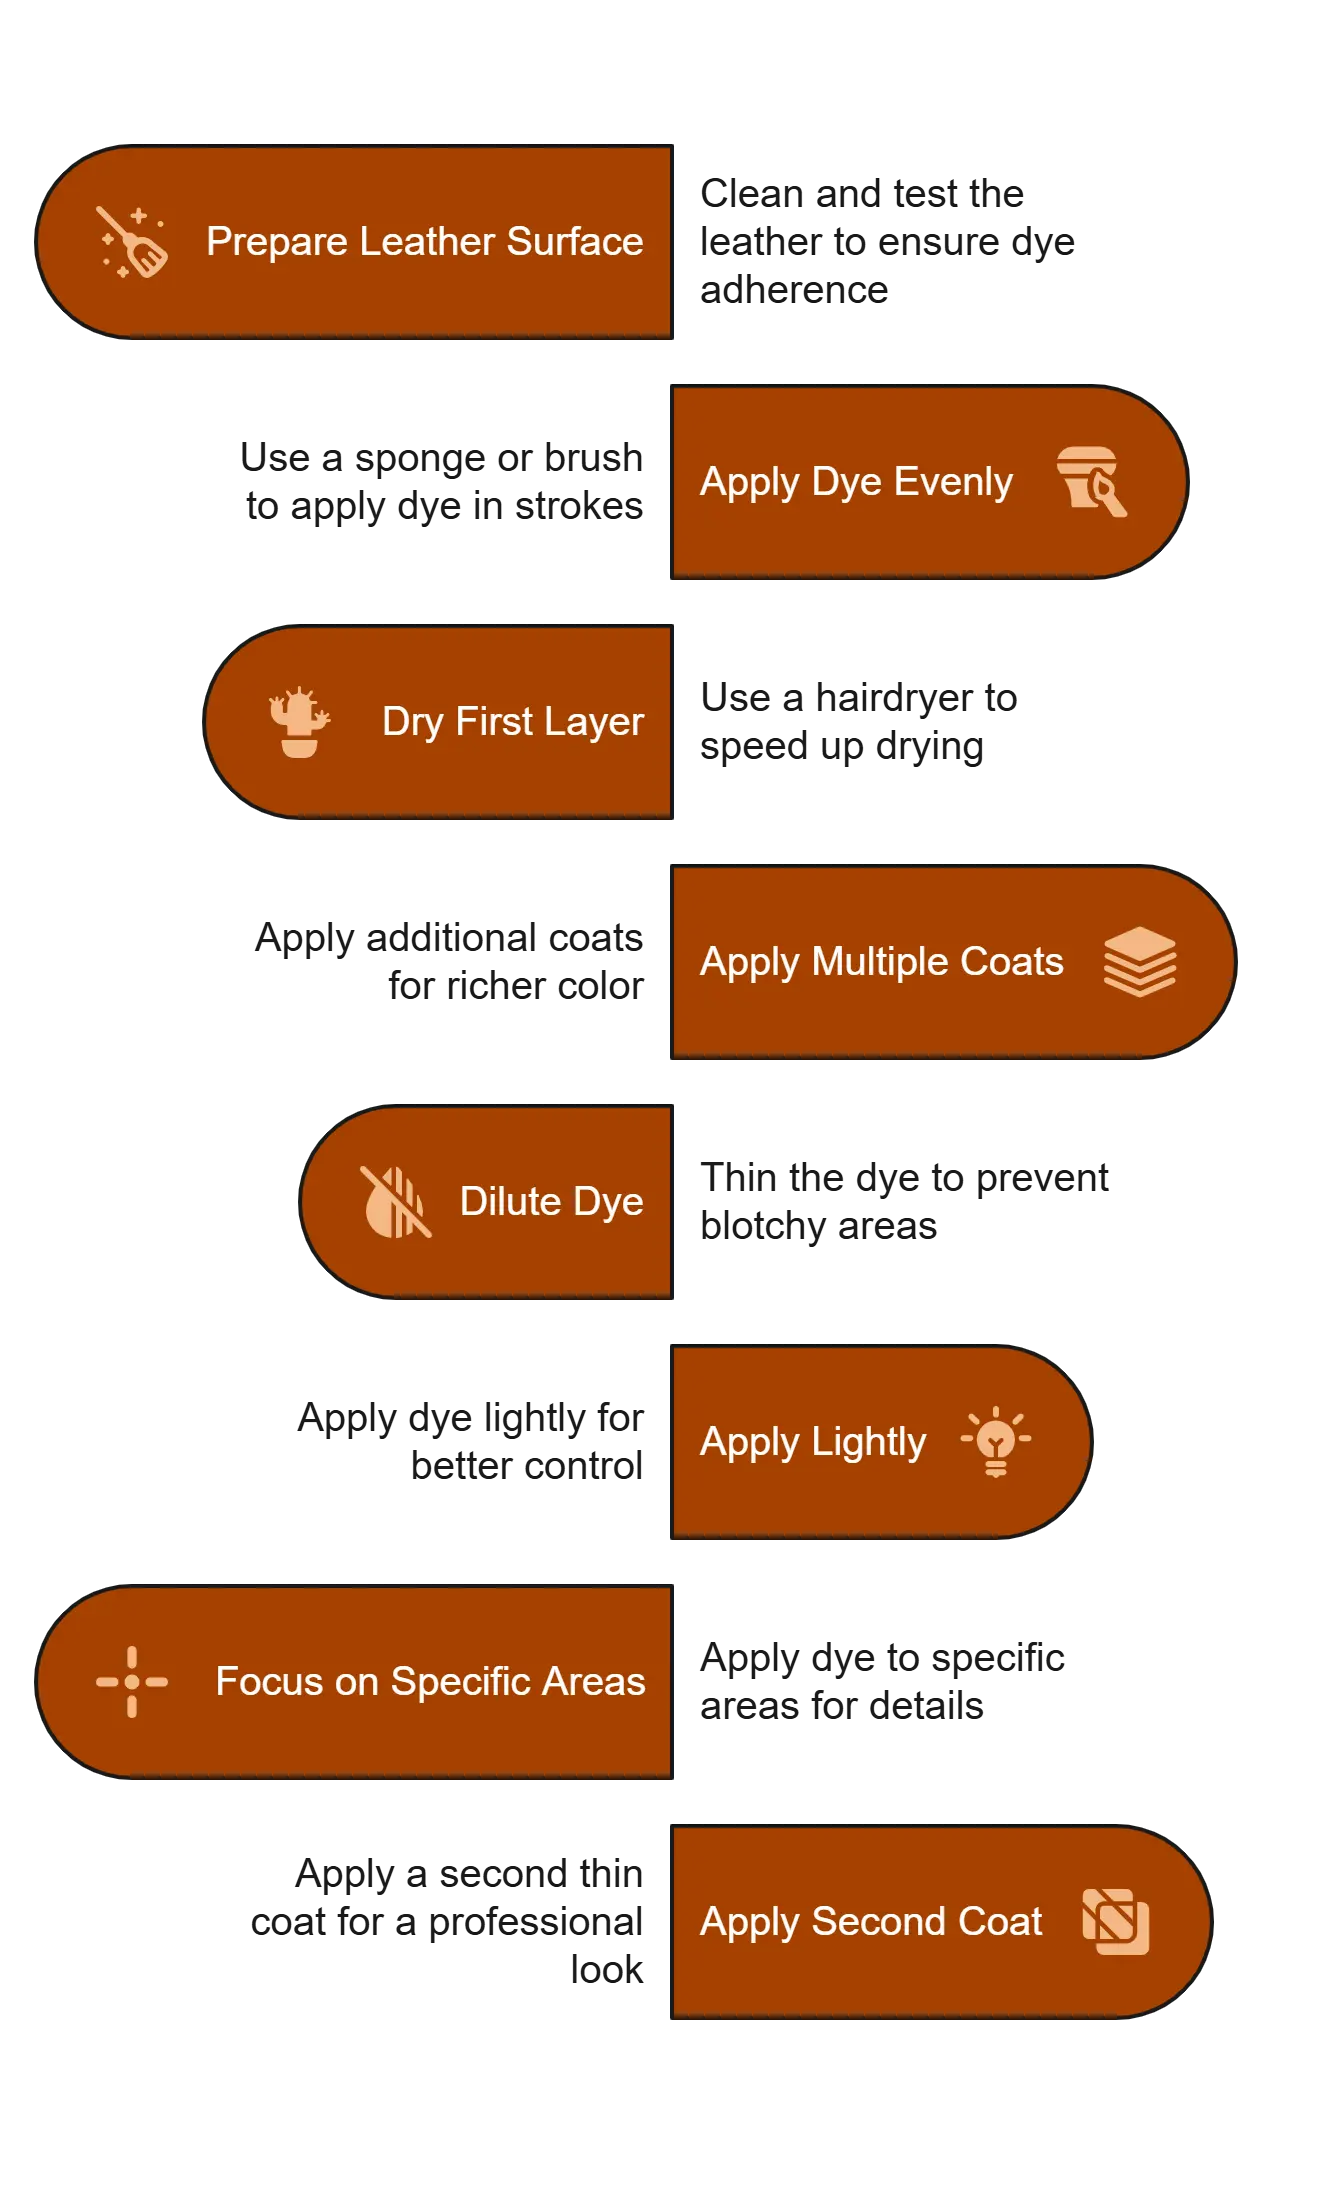
Step 1: Apply The Dye:
Start by using a sponge, brush, or spray bottle to apply the dye evenly on the leather surface, working in thick strokes or a circular motion for full coverage. Focus on seams and thicker areas, as they absorb more dye. Let the first layer dry and speed it up with a hairdryer if needed. For a richer final color, apply multiple coats, wiping off the excess dye with a paper towel between layers to avoid uneven spots. This process ensures deep, lasting color without over-saturation.
-
Step 2: Cut your dye:
For an even finish, avoid using the dye at full strength right away and dilute it slightly, especially with water-based or alcohol-based dyes, to prevent blotchy areas. Apply the first pass lightly, then build up the desired color with multiple coats for better control. If the dye is too thick, a dye reducer (for oil-based formulas) helps smooth the application. I’ve found that thinning the dye slightly and working in layers gives richer, more consistent results without over-saturation.
-
Step 3: Dyeing Specific Areas:
To revitalize your leather jacket, start by prepping the surface and cleaning it thoroughly so the dye adheres evenly. If you want to change the color completely, apply an even coat, but for contrasting details or light-colored shades like light blue, focus on specific areas while covering decorative parts like buckles with tape. For a dark finish, layer black or brown dye, while lightening requires careful thinning. I’ve found that a second thin coat works better than one thick layer, giving a stunning, professional look without hiding the jacket’s natural texture.
Creative Dye Techniques:
To give your jacket a bold, distinctive finish that reflects your personal style, try mixing different dyeing techniques that I’ve used to get both custom designs and a smooth finish.

Ombre Gradient Effect
Apply the dye heavily at one end and lighten as you move toward the other end. This technique works great for a soft color shift and can be done by hand or with an airbrush for more precision in smaller areas.
Airbrushing for Custom Designs
I love using an airbrush to create even, controlled applications, especially when working on intricate parts of the jacket where a brush might ruin the designs.
Dip Dye Method for Solid Color
For a solid look at larger sections, I submerge the jacket in a dye bath. This method helps in achieving full-color coverage without streaks, and it’s ideal when you're aiming for a uniform finish.
Finishing Your Leather Jacket:

Condition + Finish the leather:
After applying the dye, it’s important to condition the leather to keep it soft and durable. Use a leather conditioner to rehydrate the leather, especially after the drying caused by the dyeing process. Apply the conditioner with a soft cotton rag in a circular motion to ensure even coverage. Once applied, use a clean rag to buff the leather, gently removing excess product and ensuring the leather absorbs it fully. This step helps restore the leather’s natural feel and color.
Finish off by sealing the leather with a wax-based conditioner to lock in moisture. Whether you're working on a leather bag, a leather belt, or a soft honey-brown leather purse, always make sure to buff lightly after applying conditioner. Experiment and adjust to achieve the best results for your leather.
Sealing the Dye:
Sealing the dye is crucial to protect your hard work and ensure the color lasts. Always choose a sealer that matches the dye type. A water-based dye needs a water-based sealer. I apply it evenly with a sponge or brush, let it dry completely, and avoid handling the jacket until fully set to keep the leather smooth and sealed properly.
Polishing and Final Touches:
For the final touches, gently buff the dyed leather jacket with a soft cloth to achieve a smooth, polished finish. To enhance durability and appearance, consider applying optional treatments like a waterproofing spray to seal and protect it from the elements.
Troubleshooting Common Issues:
Uneven dye can be frustrating, but it’s fixable. Start by identifying problem areas, like spots where dye pooled or streaked. Apply additional coats to even out the color, focusing on lighter areas and gently blending the edges into surrounding areas to avoid harsh, noticeable lines. From experience, working in thin layers and keeping a damp cloth handy helps smooth imperfections before they set.
Maintaining the New Color:
To keep your leather jacket’s color looking fresh, follow these steps:

-
Store your jacket in a cool, dark place to prevent fading, especially in sunny climates.
-
Use a UV-protectant leather-specific spray to shield it from the sun’s rays and other harmful effects when wearing it outdoors.
-
Clean it gently with a damp cloth to remove dust and dirt. Never use harsh chemicals or soaps that could strip color.
-
For deeper cleaning, use a safe leather cleaner made for dyed leather.
-
Recondition regularly with a good conditioner to keep the leather supple and hydrated, and to prevent cracking.
-
Over time, wear can cause fading on edges and seams. Touch up these spots with matching dye, blending it into the surrounding leather.
Long-Term Care and Maintenance:

Weekly & Monthly Care
To keep your dyed leather jacket in top condition, establish a simple routine. Weekly, use a soft, dry cloth to dust off surface dirt and prevent debris from clogging the leather's pores. Monthly, wipe it with a damp cloth, then apply a light coat of leather conditioner to keep it hydrated and prevent drying out.
Biannual Deep Care
Every six months, do a thorough cleaning with a leather cleaner to remove buildup of oils and dirt, followed by a deep conditioning treatment to restore the leather's natural oils. Proper storage in a cool, dry place helps maintain its best look for years.
Storing Your Dyed Leather Jacket Properly:
After dyeing your leather jacket, proper storage is crucial for maintaining its integrity and appearance. Always hang it on a wide, padded hanger to retain its shape - never use wire hangers as they cause the shoulders to lose their form. Cover it with a breathable garment bag (preferably cotton) to protect it from dust and light exposure, while avoiding plastic covers that trap moisture and lead to mold or mildew.
Creating the Ideal Storage Environment:
Store your jacket in a cool, dry place since leather is sensitive to temperature and humidity fluctuations. Keep it away from direct sunlight, heat sources, and damp areas to prevent damage. Maintaining a consistent temperature helps avoid the expansion and contraction of the material. Ensure proper spacing in your storage area - avoid overcrowding and give your jacket enough space to breathe rather than cramming it in a packed closet with other items, which can create unwanted creases and pressure marks.
When to Seek Professional Leather Jacket Dyeing Help:
Sometimes DIY just won't cut it. For severe damage like deep cracks or extensive peeling, trust a leather specialist - their tools and expertise save your jacket's integrity. Stubborn ink, oil, or dye transfer stains often need a professional dry-cleaning approach to safely remove without damaging the texture.
For significant color loss or complete color restoration, pros deliver even, long-lasting results that extend your jacket's lifespan. While high-quality leather dye products work great for custom colors at home, complex jobs need trusted professionals.
CONCLUSION:
If done carefully, dyeing keeps your jacket looking sharp and extends its life. This approach keeps the process simple while giving your jacket a sharp, lasting finish.
Visit Bovhse for more guides on caring for leather jackets. And practical tips to keep your jackets looking great and lasting longer.
FAQS:
Should you oil leather before dyeing?
Before applying dye, proper preparation is key. First, clean the leather thoroughly to remove all dust, grime, and body oils. Once it's clean, lightly oil it to rehydrate the surface, helping the dye absorb smoothly and evenly.
What oil is best for leather?
Natural oils like mink, neatsfoot, or coconut help condition leather before dyeing to help condition and penetrate the surface. Mink oil and neatsfoot oil, both from animal sources, are great for deep treatment, while coconut oil, from plant sources, offers a lighter touch. Each type works differently, so choose based on the leather’s needs and always test first.
Is it better to paint or dye leather?
When deciding whether to paint or dye your leather jacket, dye is the better choice for a more durable result. Unlike paint, which can peel or crack over time, dye is absorbed into the leather, providing a lasting color. Attention to detail makes the. Dye creates a smooth, natural finish that’s far less likely to show wear, whereas paint can be tricky and requires careful application to avoid damage.
What color is best for leather?
The best color for your leather jacket depends on your style. Tan and brown offer earthy and warm undertones for a classic and versatile look, while red and orange bring energy and vibrancy, making a bold fashion statement.
How to turn leather black?
For a deep black finish, skip risky DIY mixes like vinegar and baking soda. The safest way is to use a professional black leather dye, which delivers a rich, lasting color without damaging the material.